
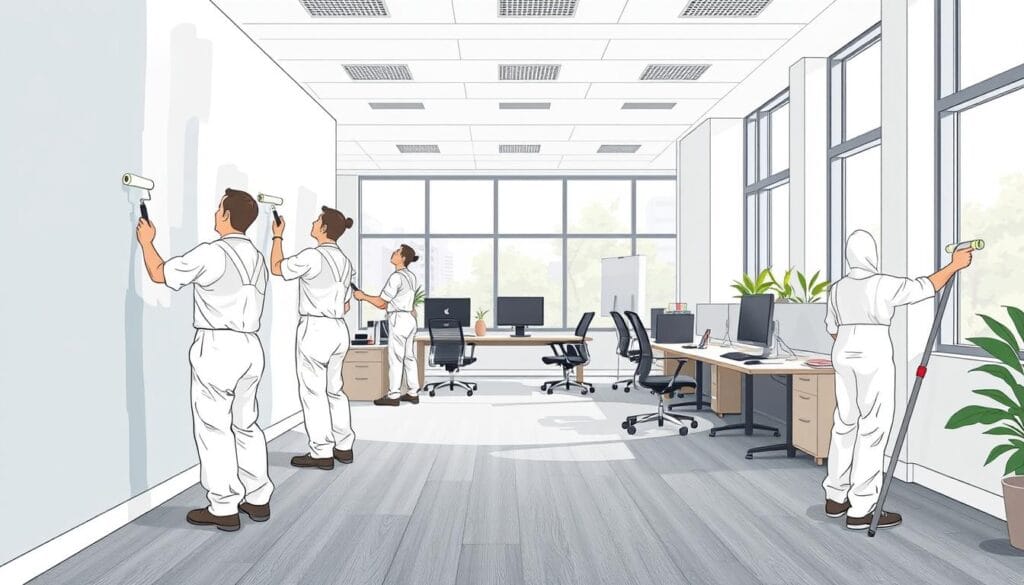
Interior Commercial Painting in La Marque, TX
Experienced interior commercial painters serving La Marque, TX 77568. Call 713-575-4847 or visit our blog for a free estimate.
Enhance your home with professional interior painting. Get smooth, long-lasting finishes with expert preparation, quality paints, and precise application.
Experienced interior commercial painters serving La Marque, TX 77568. Call 713-575-4847 or visit our blog for a free estimate.
We offer professional office painting services in Pearland, TX 77588 to transform your workspace. Call 713-575-4847 or visit our website for a free quote.
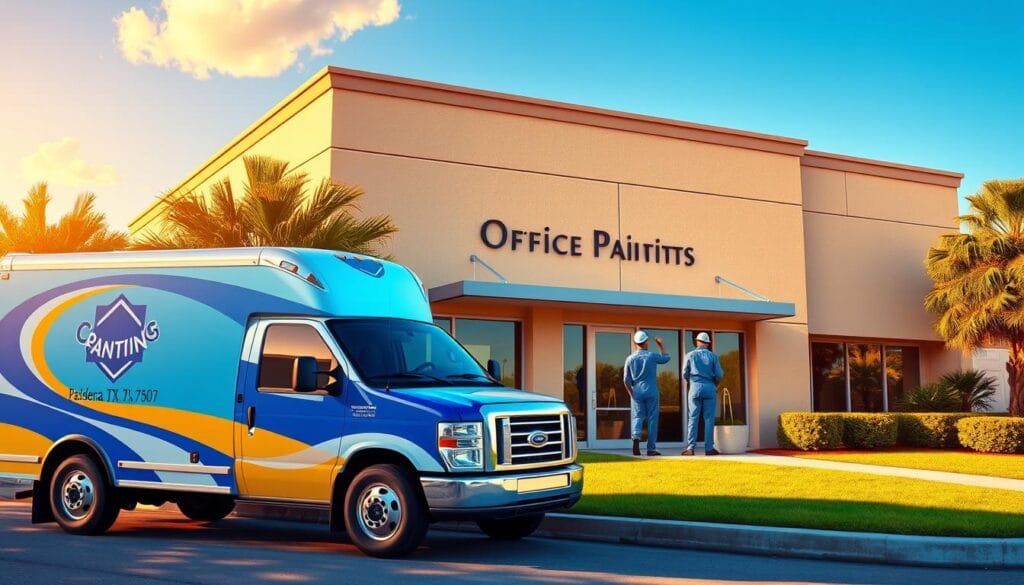
Reliable office painting services in Pasadena, TX 77507. We provide high-quality commercial painting solutions for your business.

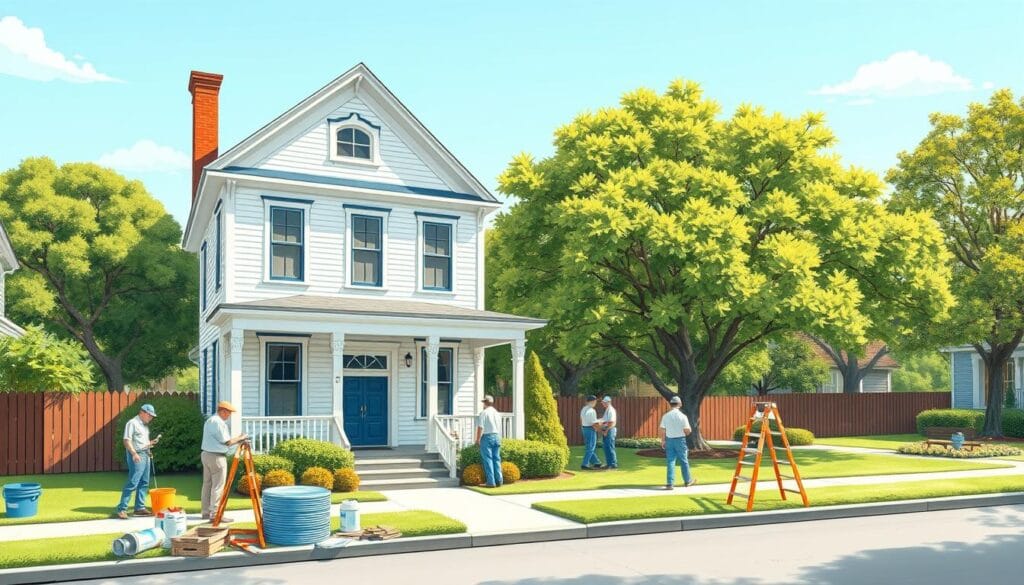
Whether you’re refreshing a single room or repainting your entire home, residential painting is one of the most impactful ways to transform your living space. A fresh coat of paint can breathe new life into tired walls, protect your home from the elements, and significantly increase your property’s value. This comprehensive guide covers everything from proper preparation and paint selection to professional techniques and maintenance strategies that ensure lasting results. Essential Preparation Steps for a Flawless Finish Proper preparation is the foundation of any successful residential painting project. Skipping these crucial steps often leads to poor adhesion, uneven coverage, and premature peeling. Professional painters spend nearly 60% of their time on preparation because they understand its importance to the final result. Wall Repair and Surface Preparation Before applying any paint, you need to ensure your surfaces are clean, smooth, and ready to accept the new coating. This process varies slightly between interior and exterior projects but follows the same fundamental principles. Interior Surface Preparation Remove all furniture or cover with drop cloths Clean walls with mild detergent to remove dirt and grease Fill holes and cracks with spackling compound Repair larger damage with drywall patches Sand repaired areas until smooth and flush with the wall Wipe down surfaces to remove dust Apply painter’s tape to trim, outlets, and switches Exterior Surface Preparation Pressure wash siding to remove dirt and loose paint Scrape away peeling or flaking paint Sand rough areas to create a smooth surface Replace rotted wood or damaged siding Caulk gaps around windows, doors, and trim Repair stucco cracks or brick mortar as needed Cover plants, walkways, and outdoor furniture The Critical Role of Sanding Sanding creates a slightly rough texture that helps paint adhere properly to the surface. For previously painted walls, light sanding with 120-150 grit sandpaper removes imperfections and dulls glossy finishes. For new drywall, start with 100-120 grit sandpaper for joint compound, then finish with 150-180 grit for a smooth result. Priming: The Foundation of Quality Painting Primer creates the ideal foundation for your topcoat by sealing porous surfaces, blocking stains, and promoting adhesion. While some modern paints include primer, dedicated primers often provide superior results for specific situations. Surface Type Recommended Primer Benefits New Drywall PVA (Polyvinyl Acetate) Primer Seals porous surface, creates uniform base Previously Painted Walls Latex Primer (if changing colors dramatically) Covers old color, ensures true topcoat color Stained Surfaces Stain-Blocking Primer Prevents bleed-through of water stains, smoke damage Wood Oil-Based or Shellac Primer Seals wood tannins, prevents grain raising Metal Rust-Inhibitive Primer Prevents oxidation, promotes adhesion Need Help With Preparation? Our professional team can handle all the tedious prep work for you, ensuring your painting project starts with the perfect foundation. Schedule a Free Consultation Paint Selection: Choosing the Right Products for Your Project Selecting the right paint involves more than just picking a color. The finish, quality, and formulation all play crucial roles in both the appearance and longevity of your residential painting project. Understanding Paint Finishes The finish (or sheen) of your paint affects both its appearance and functionality. Different areas of your home benefit from specific finishes based on their use and exposure to moisture, dirt, and wear. Finish Appearance Durability Best Used For Flat/Matte No shine, absorbs light Low Ceilings, low-traffic areas, hiding imperfections Eggshell Subtle glow, like an eggshell Medium Living rooms, bedrooms, dining rooms Satin Soft, velvety sheen Medium-High Family rooms, hallways, children’s bedrooms Semi-Gloss Noticeable shine High Kitchens, bathrooms, trim, doors Gloss Highly reflective Very High Trim, doors, cabinets, high-moisture areas Eco-Friendly Paint Options With growing environmental and health concerns, many homeowners are turning to eco-friendly paint options. These products reduce harmful emissions and create healthier indoor environments, especially important for families with children, pets, or respiratory sensitivities. Low and Zero VOC Paints Volatile Organic Compounds (VOCs) are chemicals that evaporate at room temperature and can cause health issues. Low-VOC paints contain less than 50 grams per liter, while zero-VOC options have less than 5 grams per liter. These paints minimize indoor air pollution and reduce that “fresh paint smell” that actually indicates harmful emissions. Natural and Mineral-Based Paints Made from natural ingredients like clay, milk protein, plant oils, and mineral pigments, these paints are biodegradable and contain minimal synthetic chemicals. While sometimes more expensive, they offer excellent breathability for walls and are ideal for historic homes or those with moisture management concerns. Color Psychology for Room Selection Colors significantly impact our mood, perception of space, and even physical responses. Understanding color psychology can help you create environments that support each room’s intended purpose. Bedrooms Best colors: Blues, lavenders, soft greens Effect: Promotes relaxation, reduces heart rate and blood pressure, improves sleep quality Avoid: Bright reds, oranges, and yellows that can stimulate energy Living Areas Best colors: Warm neutrals, soft yellows, gentle greens Effect: Encourages conversation, creates welcoming atmosphere, versatile for changing decor Avoid: Very dark colors that can make spaces feel smaller Home Offices Best colors: Blues, greens, balanced neutrals Effect: Improves focus and productivity, reduces eye strain, promotes calm decision-making Avoid: Distracting bright colors or overly calming deep tones Not Sure Which Paint Is Right For Your Project? Our color consultants can help you select the perfect paint type, finish, and color for every room in your home. Talk to a Color Consultant Professional Painting Techniques for Superior Results The difference between an amateur and professional residential painting job often comes down to technique. These professional methods ensure smooth, even coverage and crisp lines that transform your space. Mastering the Cutting-In Technique Cutting-in is the process of painting a clean line where two surfaces meet, such as where walls meet ceilings or trim. This technique requires a steady hand but delivers superior results compared to relying solely on painter’s tape. Step-by-Step Cutting-In Process: Select a high-quality 2-2.5 inch angled sash brush Load the brush properly (about 1/3 of bristle length) Start about 1/2 inch away from the edge Drag the paint toward the edge with steady pressure Use the
We provide professional business painting solutions in Houston 77253. Call 713-575-4847 or visit our blog at https://old.all-seasonspainting.com/our-blog
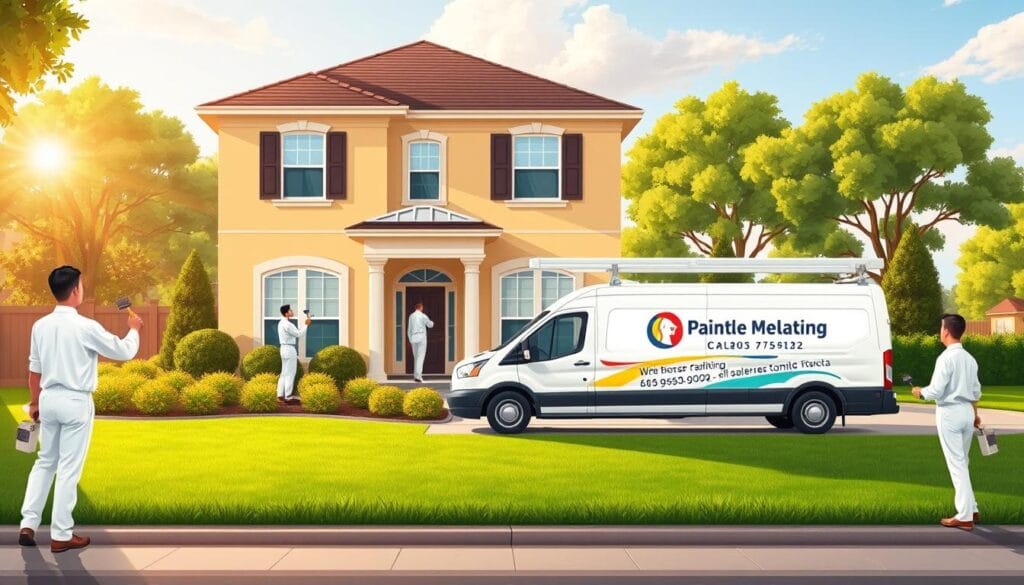
Elevate your home’s curb appeal with our professional house painting services in Pearland, TX 77588.
All Seasons Painting offers top-quality commercial painting in Liverpool, TX 77577. Contact us at 713-575-4847 or https://old.all-seasonspainting.com/
Exterior commercial painting specialists serving Pasadena, TX 77505. All Seasons Painting LLC – trusted, quality services. Call 713-575-4847 or visit our blog today.
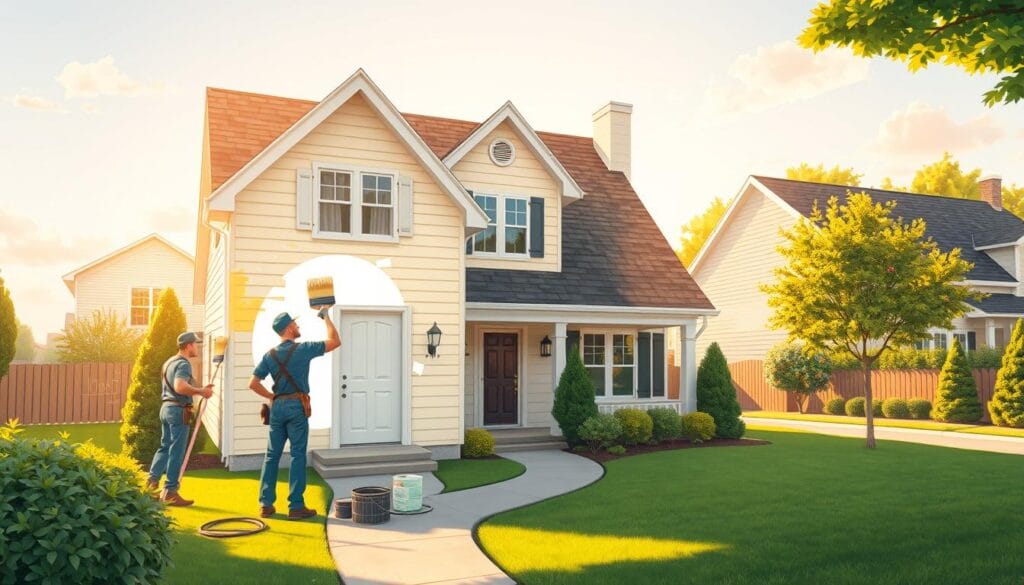
Refresh your Houston 77058 home with our expert house painting services.
We provide professional house painting services in Galveston 77550. Get a free quote today!